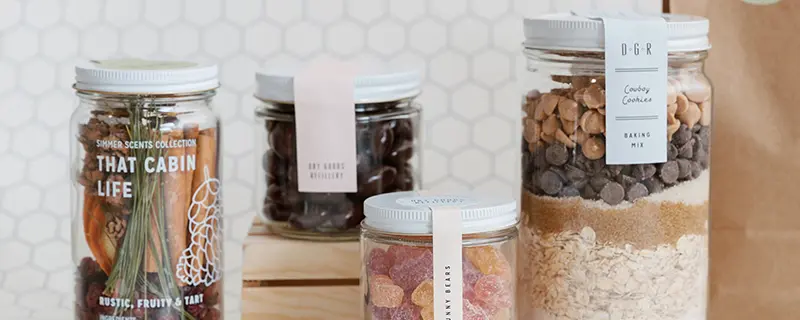
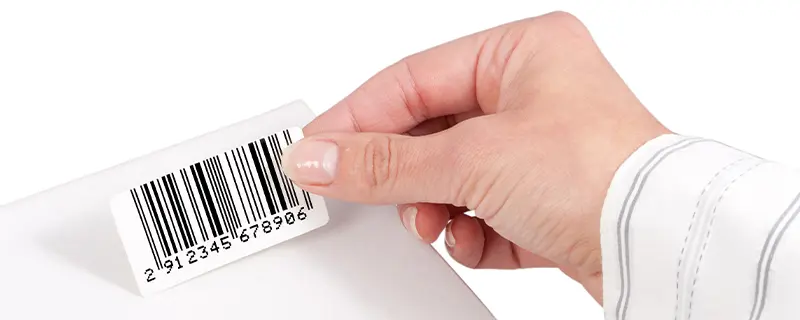
QR codes have become a staple in the labeling world, offering a quick and easy way for customers to access everything from product details to special promotions. But creating effective QR code labels isn’t just about generating a code and slapping it on your product. It’s a process that requires thoughtful planning, smart design, and attention to detail to ensure your labels are functional and visually appealing.
Lets walk you through everything you need to know to create QR code labels that not only work but also enhance your brand’s image.
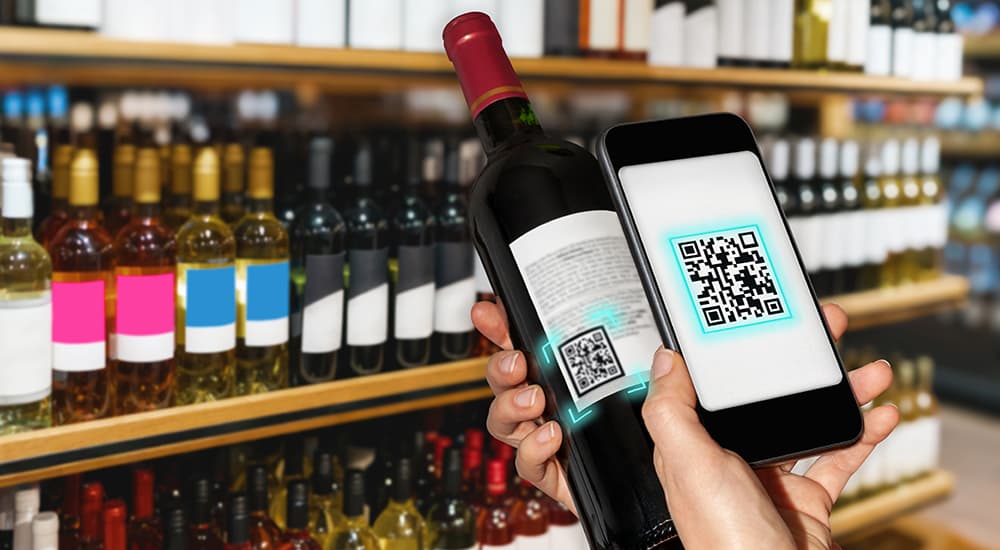
How to Create QR Code Labels
What Are QR Codes and Why Are They Important for Labels?
QR codes, or Quick Response codes, are those square, pixelated boxes that have popped up everywhere—from product packaging to event tickets. They can store a variety of information, such as URLs, contact details, or even plain text, making them a versatile tool for businesses. So why should you consider adding a QR code to your labels?
Advantages of Using QR Codes on Labels
- Easy Access to Information: Customers can instantly scan the QR code with their smartphones to access more detailed product information, how-to videos, or promotional offers—bridging the gap between your physical product and digital presence.
- Space-Saving: QR codes take up minimal real estate on your label, allowing you to pack in more branding or necessary product details.
- Interactive Experience: They provide an interactive element to your product, engaging customers and encouraging them to interact with your brand in new ways.
Step 1: Generating a QR Code
Creating a QR code is straightforward, but there are some key points to keep in mind to make sure it’s effective and functional.
Selecting the Right QR Code Generator
There are plenty of QR code generators available online, like QRCode Monkey, QRStuff, or even Canva if you want more design flexibility. Choose a generator that offers the features you need, such as customization options and high-resolution downloads.
Inputting Your Desired Information
Once you’ve chosen a generator, you’ll need to decide what information the QR code should store. This could be a link to your website, a product landing page, a video tutorial, or a coupon code. Input this information carefully, as any mistake here could lead to a non-functional code, which would be a major missed opportunity.
Customizing Your QR Code
Many QR code generators allow you to customize the appearance of your code. You can adjust the color scheme to match your brand, incorporate a logo, or even tweak the design to make it more visually appealing. However, keep in mind that the more you customize, the more important it becomes to test the code thoroughly to ensure it still scans easily.
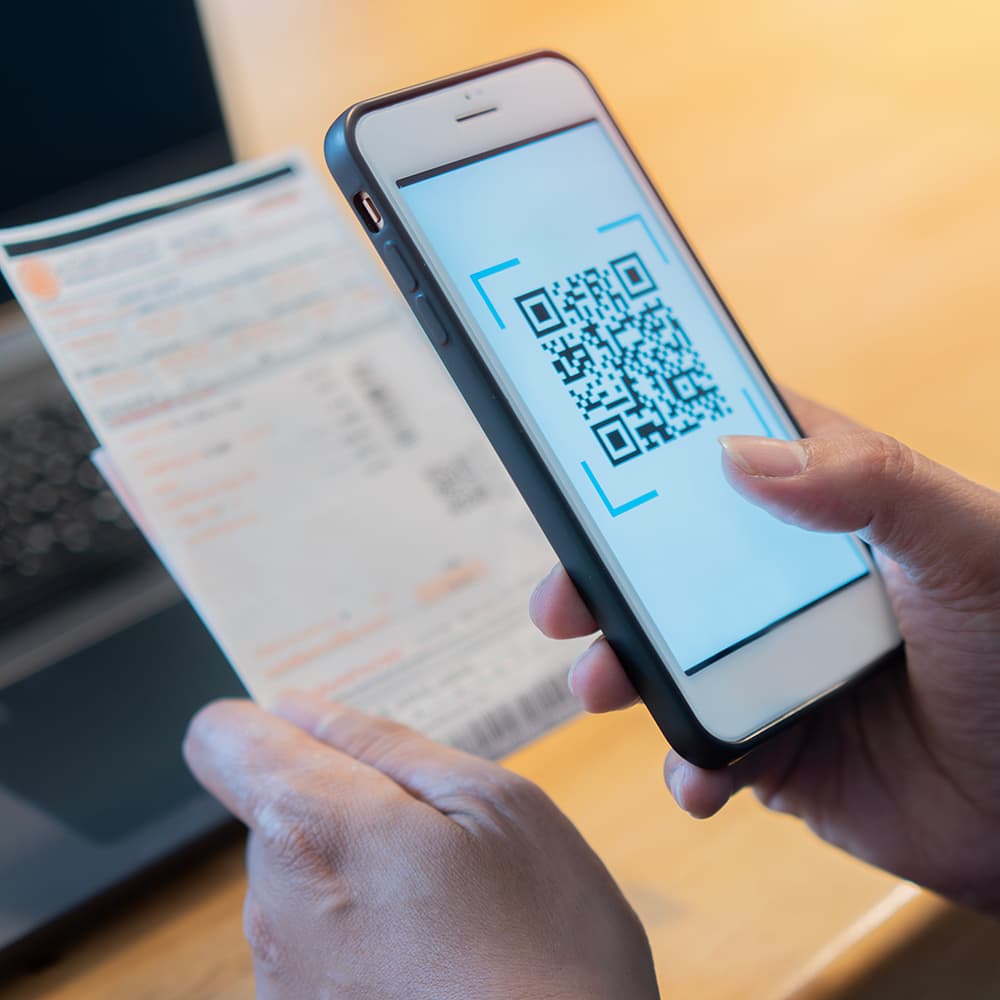
Step 2: Designing Your Label Around the QR Code
Once you have your QR code, the next step is to integrate it into your label design. This step is crucial because poor placement or sizing can make your code hard to scan, rendering it useless.
Ideal Placement for Your QR Code
The placement of your QR code on the label is key. It should be easily accessible and scannable, which typically means avoiding corners, folds, or areas with heavy text or imagery. A good rule of thumb is to place the QR code in a clear, flat area—often the bottom right of the label works well.
Getting the Size Right
The size of your QR code matters a lot. If it’s too small, it might be difficult to scan; too large, and it could dominate the label, detracting from other important information. A general guideline is to ensure that your QR code is at least 1 x 1 inch in size. This should be large enough for most scanners to pick up without any issues.
Contrast and Background Considerations
Your QR code needs to stand out from the background to be scannable. This means ensuring there’s enough contrast between the code and the background color. A black QR code on a white or light-colored background usually works best. Also, avoid placing the QR code over any patterned or busy areas of the label.
Step 3: Printing Your QR Code Labels
With your design complete, it’s time to print your labels. This is where attention to detail really pays off, as any flaws in the printing process can impact the functionality of your QR code.
Selecting the Right Printing Method
For QR code labels, high-resolution digital printing is often the best choice. Digital printing provides the precision needed to ensure that every tiny square in the QR code is printed clearly. This is particularly important if your labels are going on small products where the QR code might be scaled down.
Material and Finish Choices
The material and finish you choose for your labels can also affect how well the QR code scans. Matte finishes tend to work better for QR codes, as they reduce glare that can interfere with scanning. Glossy finishes, while attractive, may cause reflections that make the code harder to scan, especially in bright light.
The All-Important Test Run
Before committing to a large print run, it’s crucial to do a test run. Print a few labels and scan the QR code with multiple devices and apps to ensure it works across the board. This small step can save you a lot of trouble down the line by catching any issues before they escalate.
Pro Tips for Creating QR Code Labels That Shine
Let’s round out this guide with a few expert tips to make sure your QR code labels are both functional and fantastic.
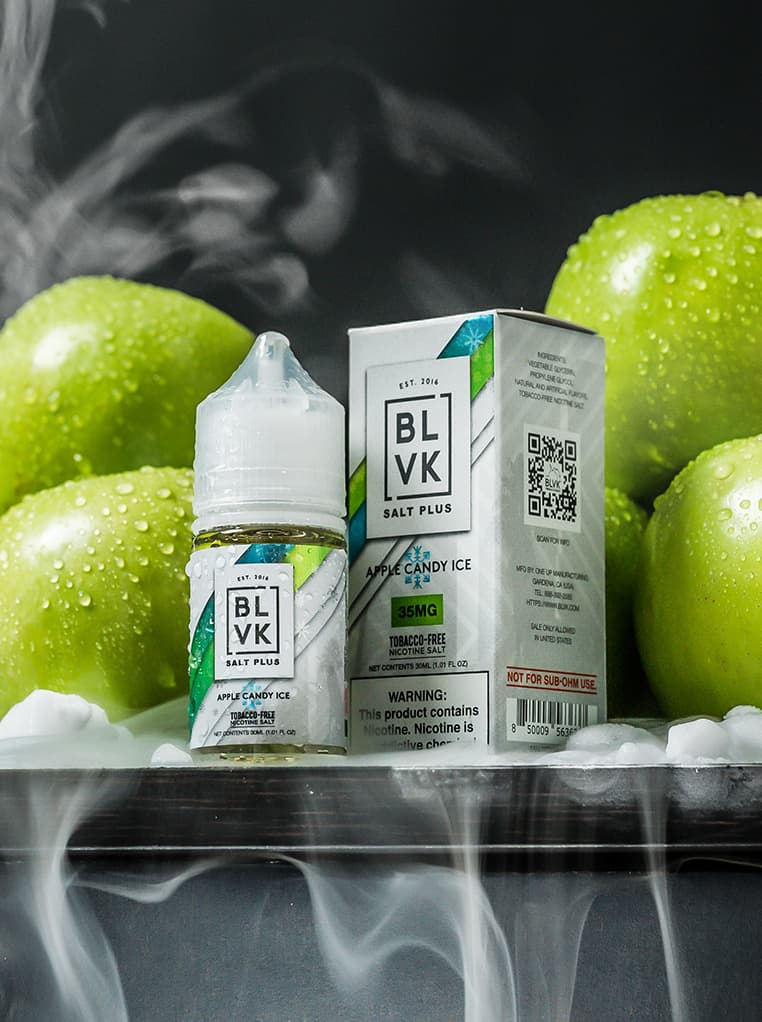
Test, Test, Test
It can’t be stressed enough: always test your QR code on multiple devices before printing. Different smartphones and scanning apps can have varying levels of sensitivity, so make sure your code works universally.
Add a Call to Action
QR codes are great, but without a prompt, customers might not know why they should scan it. Add a brief call to action near the QR code, like “Scan to Learn More” or “Unlock Exclusive Content,” to encourage interaction.
Keep the Design Clean
While it’s tempting to go all out with customization, remember that the primary goal is functionality. A clean, simple QR code is often more effective than a highly stylized one, particularly if it needs to be scanned quickly and easily.
Final Thoughts
Creating QR code labels is a process that combines both technical know-how and creative design. By following these steps, you can ensure that your QR codes are not only functional but also enhance your overall product presentation.
Whether you’re using QR codes to provide more product information, drive traffic to your website, or offer special promotions, getting it right can add a significant layer of value to your labels.
If you’re ready to create high-quality, custom QR code labels that stand out, Wizard Labels is here to help. With our expertise in digital printing and label design, we can ensure that your labels are as magical as they are functional.
FAQs
How do I create a QR code for a label?
You can create a QR code for a label using online QR code generators. Simply input the desired URL or information, customize the design, and download the code for printing.
What information can be included in a QR code on a label?
A QR code on a label can include URLs, contact information, text, Wi-Fi credentials, or even links to downloadable files like PDFs or product manuals.
What size should a QR code be on a label for it to scan properly?
The QR code on a label should be at least 1 x 1 inch to ensure it scans correctly. The size may need to increase depending on the scanning distance and printing quality.
Can I customize the design of a QR code on a label?
Yes, QR codes can be customized with different colors, shapes, and even logos in the center, as long as the code remains easily scannable.
What materials are best for printing QR code labels?
QR code labels are best printed on durable materials like vinyl, polyester, or coated paper to ensure they remain readable and adhere well to various surfaces.
