Ensuring that fonts are correctly outlined is a crucial step in preparing your label artwork for digital printing. At Wizard Labels, our digital printing process requires all fonts to be outlined to prevent any potential issues with "live" or editable text. This guide will walk you through the simple steps to outline fonts in Adobe Illustrator and Adobe Photoshop, ensuring your labels print flawlessly.
How to Outline Fonts for Perfect Label Printing
Why Outline Fonts?
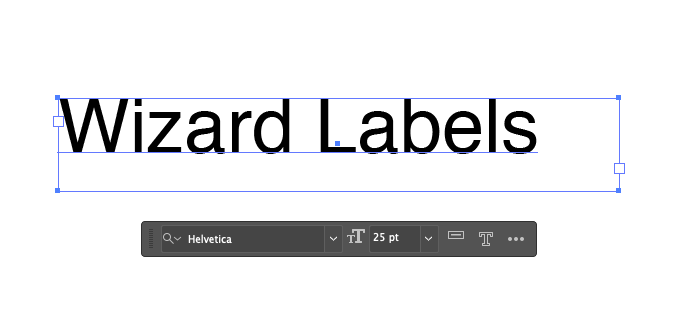
Outlining fonts converts text into vector graphics, ensuring that the appearance of the text remains consistent regardless of the fonts installed on the printing machine. This prevents any unexpected font substitutions or missing text during the printing process, maintaining the integrity of your label designs.
If someone exports their Illustrator file as a PDF while the fonts are live, sometimes the fonts won't appear properly in certain applications (like Adobe Acrobat) if the person viewing the PDF does not have that specific font downloaded.
Steps to Outline Fonts in Adobe Illustrator
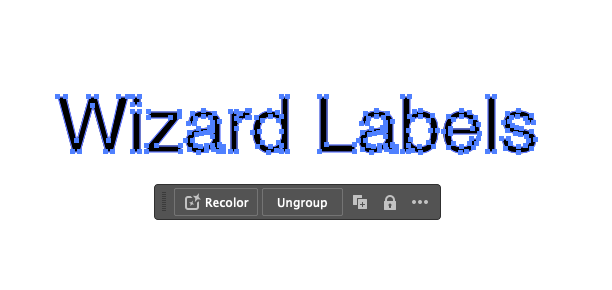
Outlining fonts in Adobe Illustrator is a straightforward process. Follow these steps to convert your text into outlines:
Step 1: Select All Text
First, ensure that all text in your design is selected. You can do this easily by navigating to the “Select” tab in the task bar and clicking on “All.” This action will highlight all text elements in your artwork.
Step 2: Create Outlines
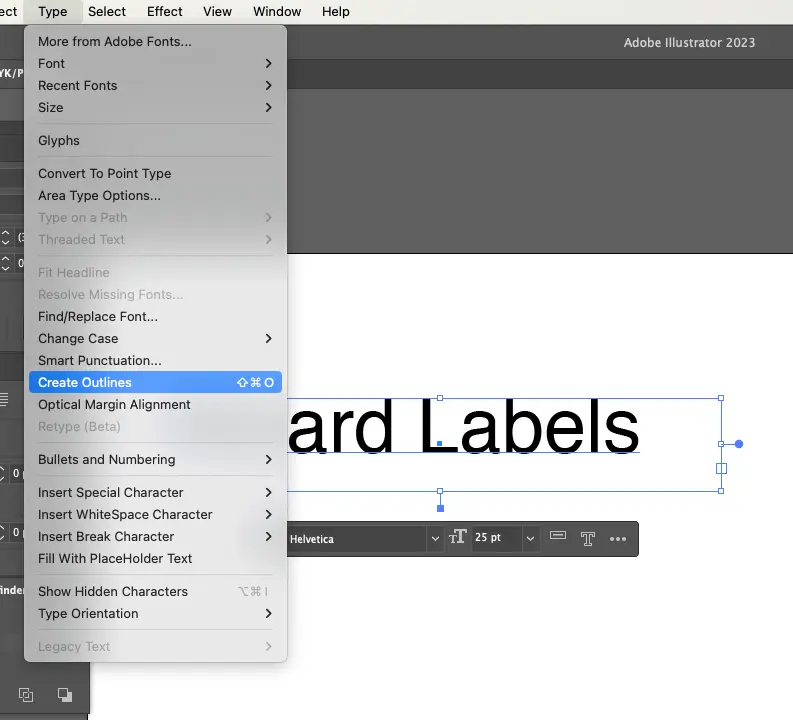
Next, convert the selected text to outlines. Go to the “Type” tab in the task bar and click on “Create Outlines.” This will transform your text into vector shapes, preserving the font appearance during printing.
Note: Ensure there are no locked layers in your design. If there are, “Select All” will only select the unlocked layers. Unlock all layers to outline all text elements.
Steps to Outline Fonts in Adobe Photoshop
In Adobe Photoshop, outlining fonts is slightly different but just as easy. Follow this single step to flatten your text layers:
Flatten Image
To outline your fonts in Photoshop, navigate to the “Layer” tab in the task bar and click on “Flatten Image.” This will merge all layers and rasterize the text, ensuring that the font appearance is maintained.
Best Practices for Preparing Label Files for Print
When preparing your label artwork for printing, always follow these best practices to ensure high-quality results:
- Outline All Text: As explained above, outline all fonts to prevent issues during printing.
- Check for Locked Layers: Ensure all layers are unlocked before outlining text.
- Use High-Resolution Images: Ensure all images in your design are high-resolution (300 dpi or higher) to avoid pixelation.
- Set Correct Color Mode: Use CMYK color mode for accurate color reproduction.
- Include Bleed Area:Add a bleed area of at least 0.125 inches around your design to avoid white edges after cutting.
- Save in the Correct Format: Save your artwork in a print-ready format, such as PDF, AI, or EPS.
How to Prepare Your Artwork for Print
Resolution and Image Quality
Ensure all images and graphics in your design are high resolution (at least 300 dpi). Low-resolution images can appear blurry or pixelated when printed. Check your artwork thoroughly to confirm that all elements meet this standard.
Bleed and Safety Margins
Include a bleed area of at least 0.125 inches around your design to ensure that there are no white edges after cutting. Additionally, keep all important text and graphics within the safety margin (usually inches inside the trim line) to avoid any elements being cut off.
Color Mode
Set your document color mode to CMYK, which is the standard for printing. This ensures that the colors in your printed labels match your design. Converting from RGB to CMYK can cause color shifts, so it's best to design in CMYK from the start.
File Formats
Save your final artwork in a print-ready format, such as PDF, AI, or EPS. These formats preserve vector graphics and ensure high-quality printing. Avoid using formats like JPEG or PNG for final prints, as they can compress and lose quality.
For more information, take a look at our Artwork Design Specifications page, where you'll find all the best tips and tricks for preparing your label files for print.
Conclusion
Outlining fonts and preparing your artwork properly are essential steps in the label printing process, ensuring that your designs are printed accurately and consistently. By following the simple steps and best practices outlined in this guide, you can easily prepare your artwork in Adobe Illustrator and Photoshop. For any questions or further assistance, feel free to contact our support team at Wizard Labels.
FAQs: Outlining Fonts
What does it mean to outline fonts?
Outlining fonts means converting text into vector shapes, preserving the appearance of the text and preventing font-related issues during printing.
Why is it important to outline fonts for printing?
Outlining fonts ensures that the text appearance remains consistent, regardless of the fonts installed on the printing machine, preventing any unexpected substitutions or missing text.
What file formats are best for sending outlined artwork?
The best file formats for sending outlined artwork are PDF, AI, or EPS, as they preserve vector graphics and ensure high-quality printing.
