


Printing Your Own Shipping Labels
Printing your own shipping labels is fast, easy, and cost-effective. Whether you’re shipping a few packages or running a small business, creating labels at home can save money and streamline the process.
You can use a regular printer or a thermal label printer for professional results. Below, we’ll walk you through the best methods, the right equipment, and expert tips to avoid common mistakes.

Can You Print Your Own Shipping Labels at Home?
Yes! You can print shipping labels at home using a computer, printer, and label paper. Many shipping carriers, including USPS, UPS, and FedEx, allow you to generate and print labels online. This method is cheaper and more convenient than purchasing labels at the post office or shipping store.
Key Benefits of Printing Your Own Labels:
- Saves money—You avoid markup fees on printed labels.
- Saves time—No waiting in line at the post office.
- Customizable—Choose your preferred label size and format.
What Do You Need to Print Shipping Labels?
To print your own shipping labels, you’ll need:
- A computer or mobile device – To access shipping carrier websites or shipping software.
- A printer – Either a regular inkjet/laser printer or a thermal label printer.
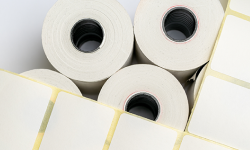
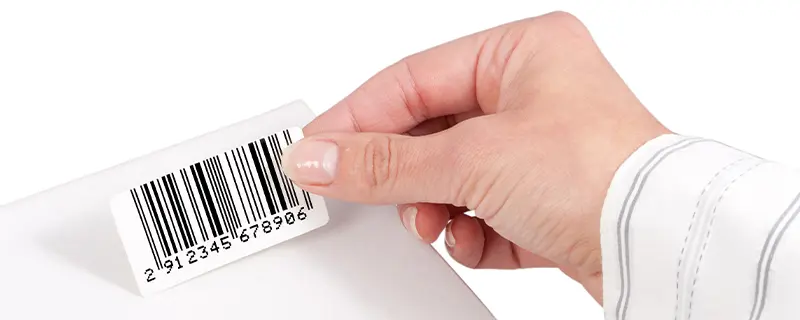
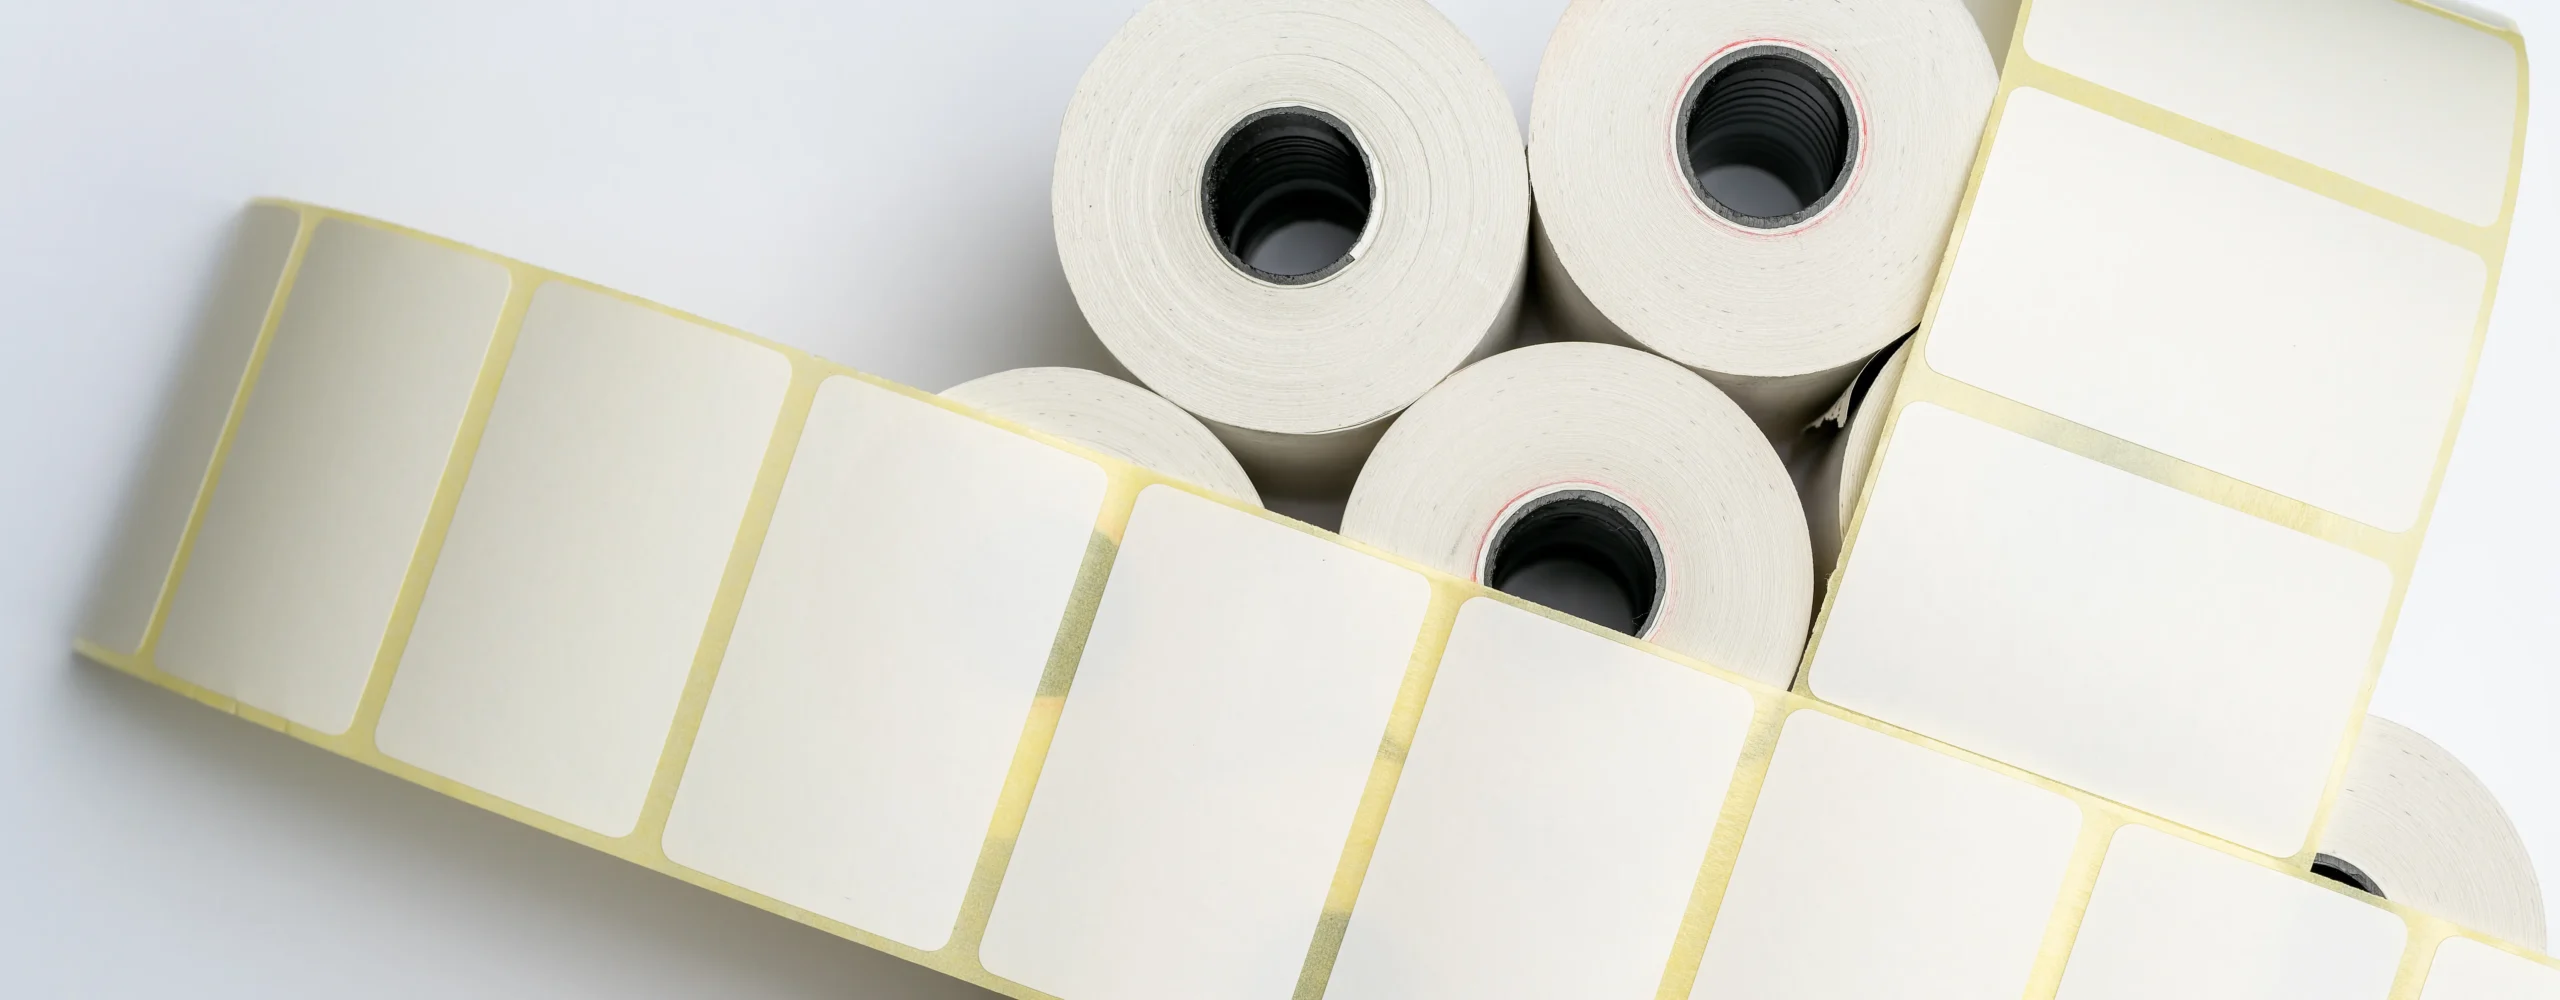
- Shipping label paper – Self-adhesive labels work best, but standard paper with tape is an option.
- A shipping service – Create labels using USPS Click-N-Ship, UPS, FedEx, or third-party platforms like ShipStation or Pirate Ship.
Can I Use a Regular Printer to Print Shipping Labels?
Yes, you can print shipping labels with a regular inkjet or laser printer, but there are a few things to consider:
How to Print Shipping Labels with a Regular Printer
- Use standard paper – Print on regular paper and attach with tape OR use half-sheet adhesive labels.
- Adjust your printer settings – Set it to high-quality print mode for better readability.
- Cut and attach carefully – If using regular paper, be sure to tape all edges securely.
Pro Tip: Laser printers are better than inkjet printers for shipping labels because they produce smudge-free, waterproof prints.
What Kind of Printer Is Best for Printing Shipping Labels?
While you can use a regular printer, a direct thermal label printer is the best choice for efficiency and cost savings.
Printer Options for Shipping Labels
| Printer Type | Pros | Cons |
|---|---|---|
| Inkjet Printer | Works with standard paper | Ink can smudge, requires expensive cartridges |
| Laser Printer | Smudge-proof labels, long-lasting toner | More expensive than inkjet printers |
| Thermal Label Printer | No ink or toner required, fast and efficient | Higher upfront cost |
Best Option: Direct thermal printers (like Rollo or Zebra) are the most cost-effective for frequent shipping. They use heat-sensitive labels and never require ink.
Is It Cheaper to Print Your Own Shipping Labels?
Yes! Printing your own labels reduces costs compared to buying them from the post office. Here's a cost comparison:
DIY vs. Buying Pre-Printed Labels
| Option | Average Cost Per Label |
|---|---|
| Printing at home (inkjet/laser) | $0.05 – $0.15 (ink + paper) |
| Printing with a thermal printer | $0.01 – $0.03 (thermal labels only) |
| Buying labels from USPS/UPS/FedEx | $1 – $3 per label |
Pro Tip: If you ship frequently, a thermal printer pays for itself quickly by eliminating ink costs.
Can You Make Your Own Shipping Labels for Free?
Sometimes. USPS, FedEx, and UPS offer free shipping label printing if you use their services. However, you must meet specific criteria:
- USPS Click-N-Ship – Free label generation, but you must buy postage.
- UPS & FedEx – Business accounts may qualify for free printed labels.
- Etsy, eBay, Amazon – Sellers often get discounted labels, but not for free.
If you want completely free labels, you’ll still need to buy label paper or sticker sheets.
How to Print Shipping Labels – Step-by-Step
- Choose a Shipping Service
- USPS, UPS, FedEx, or DHL – Use their websites.
- Third-Party Services – Try Pirate Ship, ShipStation, or Stamps.com for discounts.
- Enter Your Package Details – Weight, dimensions, and destination must be accurate to avoid extra fees.
- Select Label Size & Format
- 4x6-inch labels (best for thermal printers).
- 8.5x11-inch labels (for regular printers).
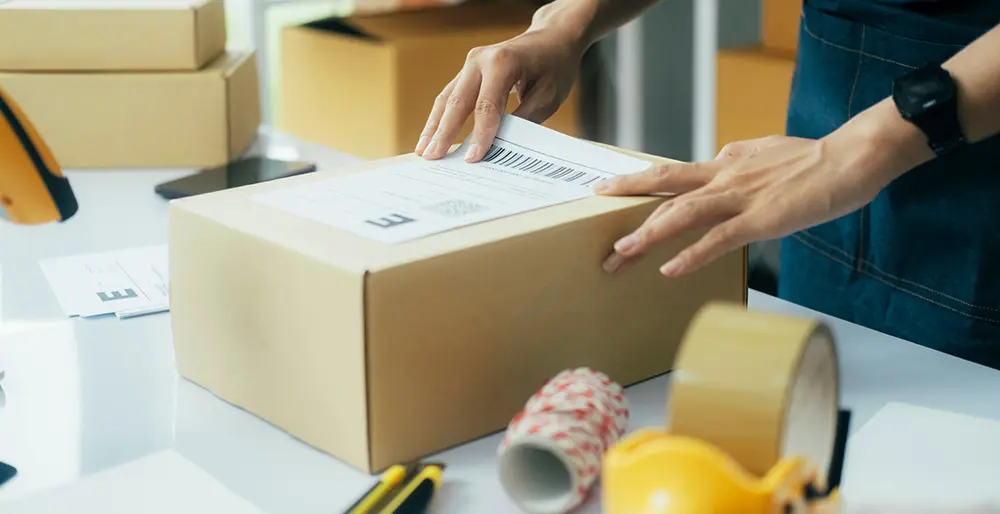
- Print & Attach Your Label
- Thermal Printer: Print directly on self-adhesive labels.
- Regular Printer: Print on paper, cut, and tape it securely.
Pro Tips for Printing High-Quality Shipping Labels
- Use self-adhesive labels – No messy tape needed.
- Check carrier guidelines – Some require specific label sizes.
- Avoid ink smudging – Use laser or thermal printers.
- Print test labels – Prevent misprints before shipping.
Common Mistakes to Avoid When Printing Shipping Labels
- Using low-quality labels – Cheap labels can fade over time.
- Not aligning labels properly – Misalignment can cause scanning issues.
- Ignoring carrier requirements – Incorrect label sizes may be rejected.
Ready to Start Printing Like a Pro?
Printing your own shipping labels is a smart way to save time and money, whether you’re running a small business or just sending a few packages. The key is having the right setup—a reliable printer, quality label paper, and a process that works for you.
If you need blank labels that work with both standard and thermal printers, we’ve got a selection that makes printing at home simple and hassle-free.