If you haven’t yet been asked about unwind directions by a custom label printer, you will be soon. Label unwind direction is one of the fundamental pieces of the puzzle for us, because unless it’s correctly identified, we could easily print labels that didn’t fit correctly on your products.
One Direction For Custom Labels
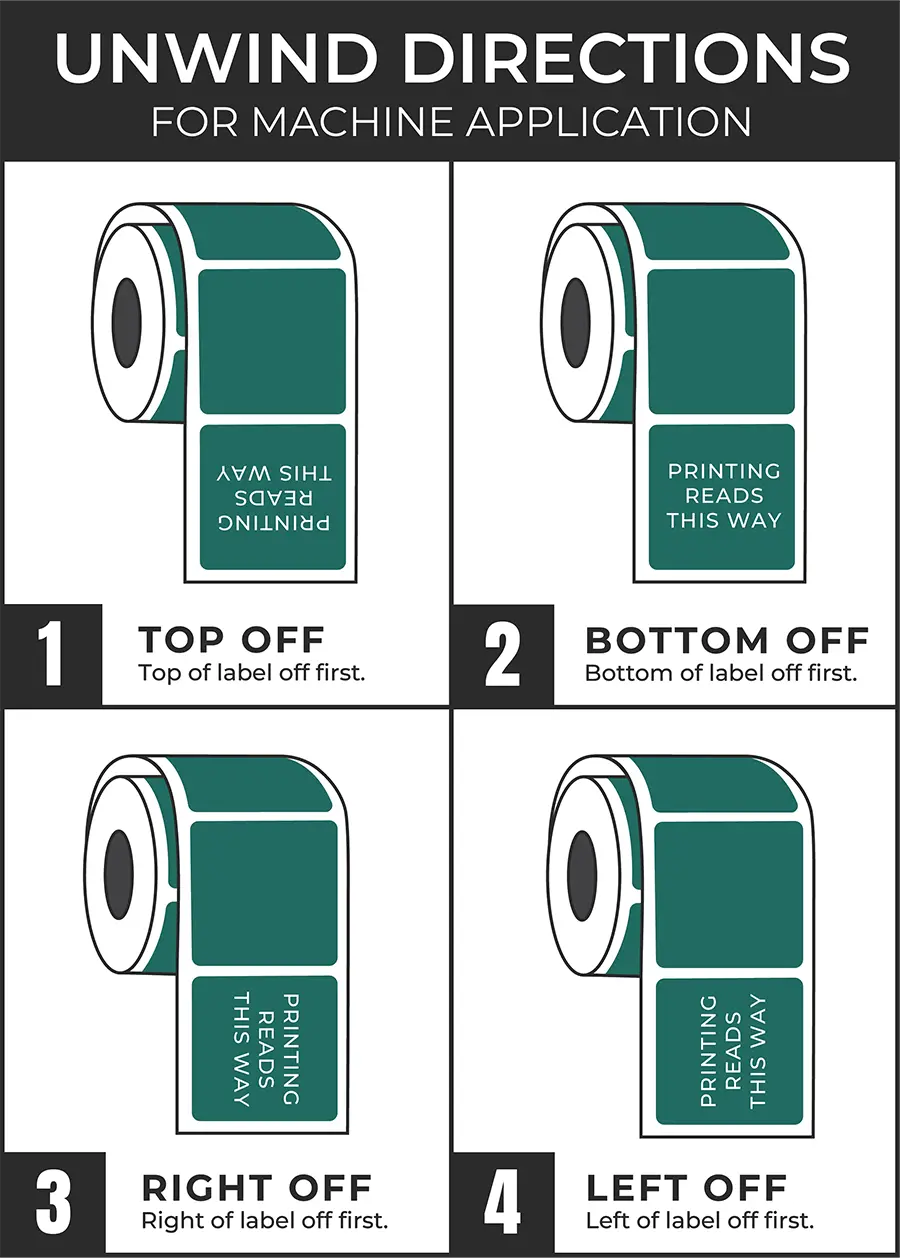
Unwind Direction refers to the orientation of the labels as they come off the roll. The label printing industry has developed standard descriptions for the various label unwind directions to avoid any confusion. For example, Unwind Direction #1 (Top Off First) indicates that the top of the label will be the leading edge when the roll is unwound. Label unwind directions are often not very important if the intention is to hand-apply the labels to your products, but they become critical if your product labels are applied by machine – so that the products and the labels are aligned correctly.
Here's an image demonstrating the most common Label Unwind Directions ...
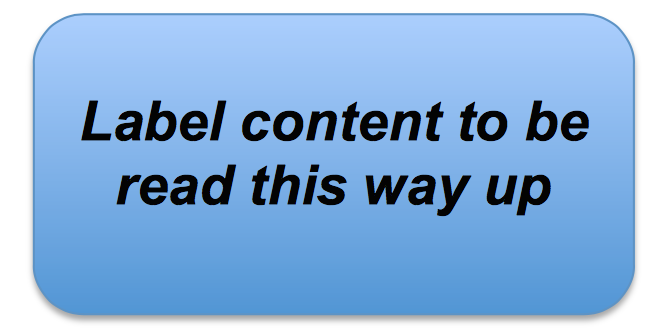
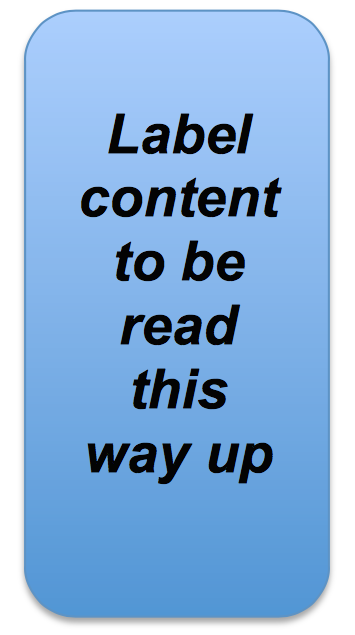
It’s also important to understand that generic terms like “height” and “width” are not always as simple as they seem, and can actually confuse the issue when trying to decide the unwind direction for your custom product labels. For instance, a label that is 3” high and 6” wide is most likely a horizontal design (as shown below on the left). However, if we reverse the dimensions to 6” high and 3” wide, the label is more likely a vertical design (as shown on the right).
Set The Custom Label Stage
We then need to consider the shape and orientation of the container to which the label is being applied. Again, this is usually only critical if the labels are to be applied via some mechanical means – because the container and the roll of labels need to “meet up” in the correct way so the label gets applied correctly. Let’s take a look at a very common “bottle” application.
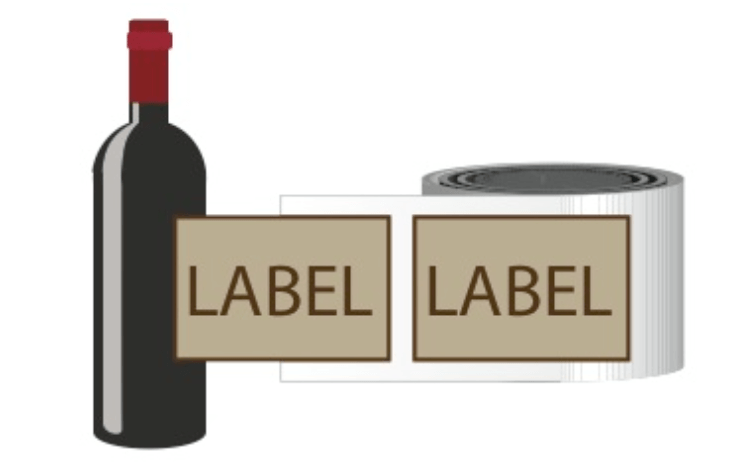
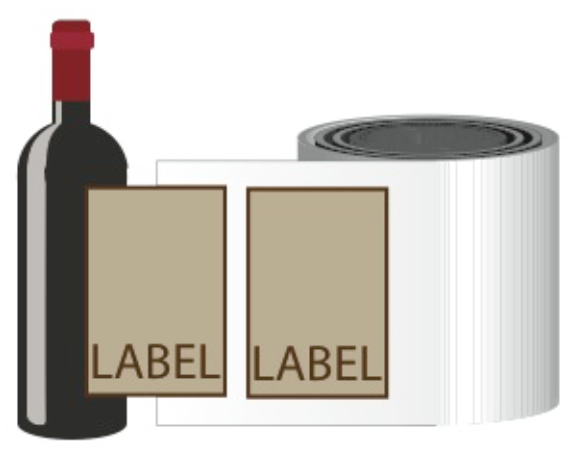
Assuming the bottles are a regular cylindrical shape (use a typical wine bottle as an example), then machine applicators will typically “roll” the labels onto the appropriate surface, rotating the bottle as it happens. The roll of labels therefore must be aligned such that the “leading edge” of the product label as it comes off the roll is one side of the label (not the top or bottom), otherwise the labels would be applied lying down instead of standing up – which would not be a good look.
In the image below, the custom label design on the left is a “landscape” or horizontal layout, whereas the label on the right is a “portrait” or vertical layout. Depending on which result you’re trying to achieve, it’s critical to make sure the labels come off the rolls with the correct orientation (otherwise known as the “unwind direction”). As you can hopefully imagine, if the product labels in either of these images were rotated 90 degrees, the text would also be rotated – which is probably not the intention.
One last important tip: when choosing your custom label size from the drop-down list on our Instant Online Quoter, keep in mind that the first measurement is always the leading edge when the labels come off the roll. In other words, a 3.75” x 6” size will have the 3.75” edge coming off first. Similarly, in the vast majority of cases (although admittedly not all), the first measurement would probably be the height of your product label and the second measurement would be the width.
You can access the online quoter on the right side of any page on our website, and you don't even have to identify yourself in any way. This way, you can experiment with various combinations of size/material/quantities to see what works best for you.
