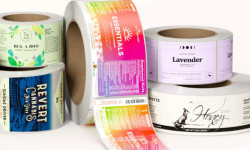


Finding the right label size for your product is crucial for a professional look and proper fit. Whether it’s jars, bottles, or packaging, choosing the correct size prevents wrinkles, peeling, and misalignment.
To make sizing easy, we offer practical tools like a printable ruler and shape templates, as well as a simple wrap-and-cut method. Say goodbye to guesswork and get the perfect label size every time!
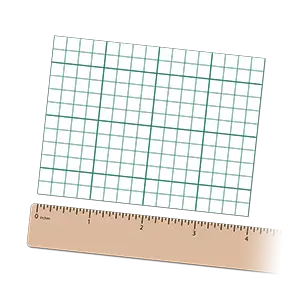
Method 1: Measure Your Product Labels with a Free Printable Ruler
Need a quick and easy way to measure your labels? Download our printable ruler to get accurate measurements for your bottles, jars, or other containers. Just print, cut, and measure—no second-guessing required!
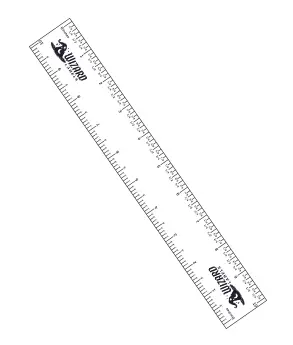 |
PRINT – Make sure to print the ruler at 100% size. CUT – Follow the dotted line to separate the ruler from the page. MEASURE – Use the ruler to measure the area where your label will go. |
Method 2: Find the Right Fit with Printable Labels
Not sure what size or shape will work best? Our printable label templates are a great place to start before ordering. Keep in mind we have thousands of sizes available and these are just a few of our most popular sizes. Just print, cut, and place them on your product to find the best match.
Available Shapes
- Circles
- Ovals
- Squares
- Rectangles
|
|
|
|
|
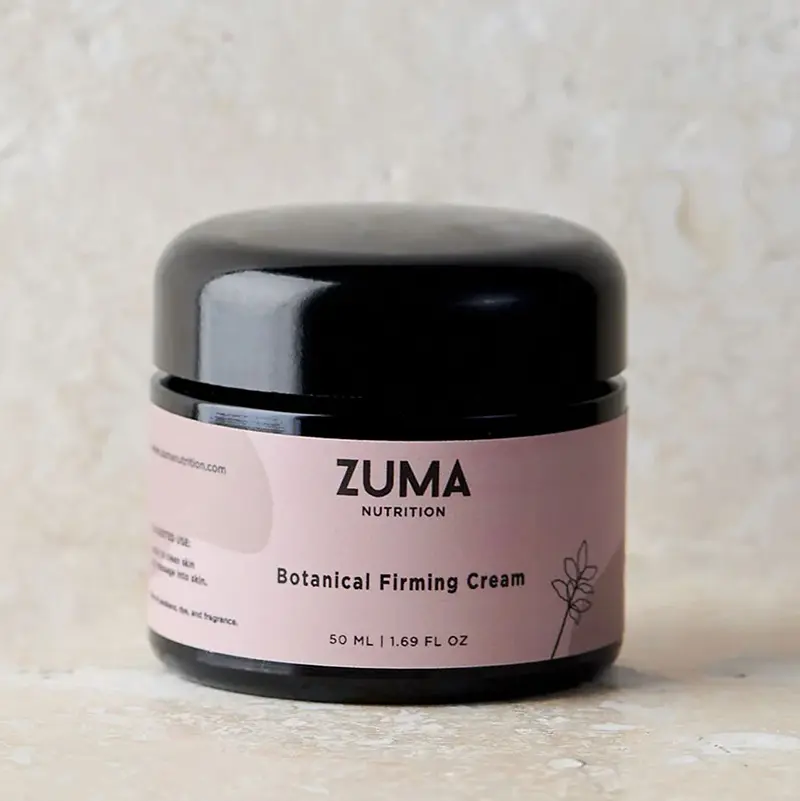
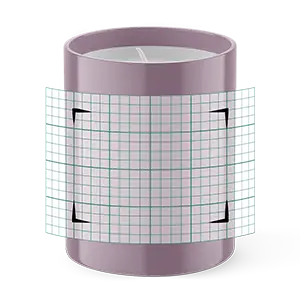
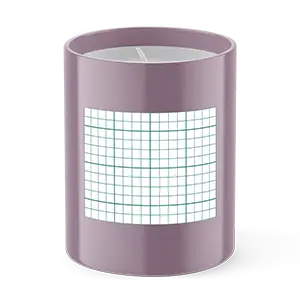
Method 3: Test Your Label Size with the Wrap & Cut Method
For round or curved surfaces, try wrapping a piece of paper around your container. Mark where it overlaps, then trim it to size. This quick test ensures your label will fit just right before you order.
Step 1: Size it Up
Wrap a piece of paper around your container, marking where you want the label’s edges to be. This gives you a rough idea of the size you need.
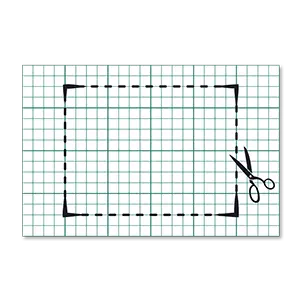
Step 2: Trim to Fit
Use scissors to cut along the marked lines. This will serve as your test label to make sure it lines up properly.
Step 3: Test the Shape
Wrap the cutout around your product and look for gaps or overlaps. If it doesn’t fit quite right, make small adjustments until it’s just the way you want it.
Step 4: Measure Your Cutout
Lay the cutout flat and use a ruler to measure the final dimensions. Now you know exactly what size to order!
Step 5: Make It Official
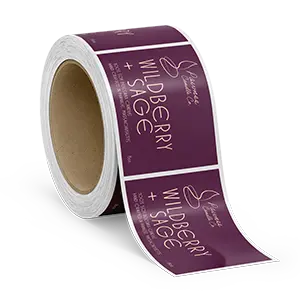
Once you’ve nailed down the right size, it’s time to order your custom labels. At Wizard Labels, we print high-quality labels that match your specifications. Just upload your design, and we’ll handle the rest!