
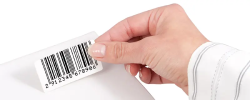


For custom product labels, the ideal image resolution is 300 DPI (dots per inch). At this resolution, you’ll get crisp, professional-looking labels that represent your brand beautifully without oversized file headaches.
Higher resolutions may seem better, but they don’t improve print quality. Instead, they slow down the printing process with unnecessarily large file sizes. Let’s dive into why 300 DPI is the best choice for creating high-quality product labels and how it impacts your printed project.
Why Is 300 DPI Ideal for Label Printing?
Our state-of-the-art label printing process is optimized for 300 DPI images. Higher resolutions, like 1200 DPI, don’t make your labels look better; they just create challenges during production.
Here’s why 300 DPI is the sweet spot for high-resolution label printers:
- Consistent Print Quality: Whether it’s a small label or a large design, 300 pixels per inch delivers sharp, clear results. Using more than 300 DPI won’t improve the final output—it simply adds unnecessary data.
- Smaller File Sizes: A label design that’s 3” x 4” at 1200 DPI can create a digital image file of 40–50 MB, while the same design at 300 DPI is just 3–4 MB. Smaller files upload faster and streamline the entire printing process.
- Reliable Production: Sending overly large files with millions of pixels to a high-resolution label printer can slow down the press or even cause technical errors. Keeping artwork at 300 DPI prevents these issues and ensures smooth, efficient production.
How Does Image Resolution Affect Label Size?
Your label’s print size depends on the pixel dimensions of your digital image. At 300 pixels per inch, the size of your artwork determines the physical dimensions of your label.
For example:
- An image that’s 3000 pixels wide by 2400 pixels tall will print at 10” x 8”.
- To create a 5” x 4” label, your design must be 1500 x 1200 pixels at 300 DPI.
To determine the required dimensions for a specific print size, multiply the width and height of the label by 300. This formula ensures that your design looks sharp and professional when printed.
What Happens If Resolution Is Too High or Too Low for Labels?
Getting the resolution right is essential for professional-looking labels.
Higher Resolution: Images above 300 DPI create oversized file sizes without improving the print quality. These large files take longer to upload, process, and print. For example, a 1200 DPI image will look identical to a 300 DPI image when printed—but at a fraction of the efficiency.
Low Resolution: Images below 300 DPI may look pixelated or blurry when printed. If you design a label using an image optimized for a computer screen (typically 72 PPI), it won’t have enough data to render a sharp print.
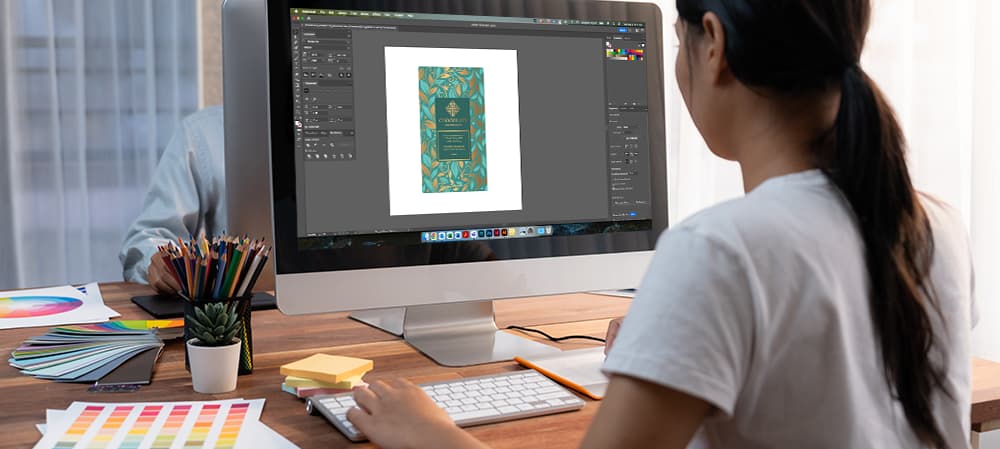
Tips for Preparing High-Quality Label Designs
Creating beautiful product labels starts with preparing your files correctly. Follow these tips for the best results:
- Set Resolution to 300 DPI: Before finalizing your design, adjust the resolution to 300 pixels per inch.
- Match Image Size to Label Size: Your digital image should match the exact dimensions of your label. For example, a 2” x 3” label requires an image that’s 600 x 900 pixels.
- Check File Sizes: Save your artwork with manageable file sizes for quick uploads and seamless processing.
If you’re using Adobe Illustrator or similar design tools, you can rasterize embedded images to 300 DPI by selecting the image and choosing “Rasterize” under the “Object” menu.
Why Do File Sizes Matter for Custom Labels?
Large file sizes create challenges during the label production process. Uploading files with unnecessary resolutions increases processing times, slows down high-resolution label printers, and may even delay your order.
By keeping your resolution at 300 DPI, you’ll avoid:
- Long upload times.
- Processing delays during production.
- Overloaded printers that can’t handle oversized files.
Efficient file preparation keeps your printed project on track, ensuring fast delivery of your custom labels.
Key Takeaways for Label Image Resolution
- Always use 300 DPI (dots per inch) for product label designs to achieve sharp, professional results.
- Adjust your image size to match the print size of your label, using the formula of width and height in pixels divided by 300.
- Keep file sizes manageable to streamline the printing process.
- Avoid using resolutions higher than 300 DPI—they don’t improve print quality and only slow things down.
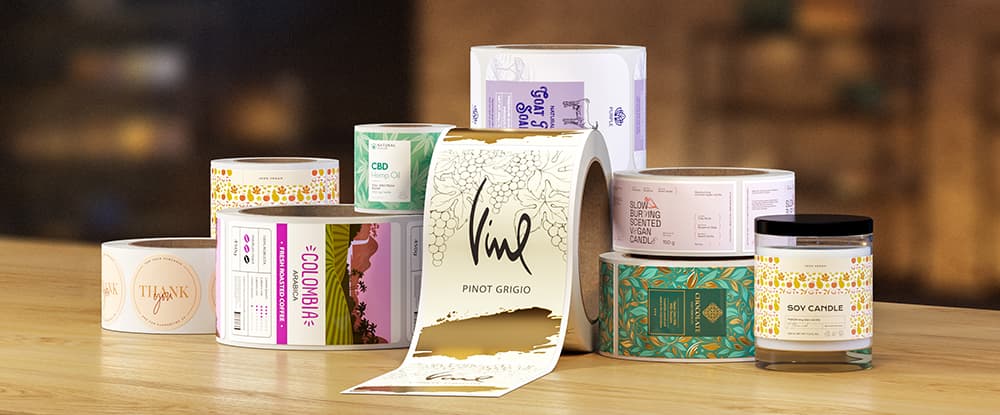
Whether you’re designing small cosmetic labels or bold food package labels, these steps will help your products stand out.