

Here’s how to prep wine bottle labels for fall: finalize materials and finishes now, choose foil that pops in late-day tasting rooms, pick a textured paper that invites touch, and add a QR linking to your harvest clip. Keep dielines ready, artwork in CMYK, and proof dates on the calendar.
The Harvest Label Timeline That Works
Timing is everything when harvest season hits. If you bottle in late September, aim to finalize wine label designs by early August. That leaves room for proofing, printing, and delivery without last-minute panic. Always add at least a two-week buffer for unforeseen delays.
- Map your design-to-bottling schedule backward from key events.
- Plan proof approvals early to avoid bottlenecks.
- Build in extra time for shipping and seasonal carrier delays.
Steal the Shelf with Light Play
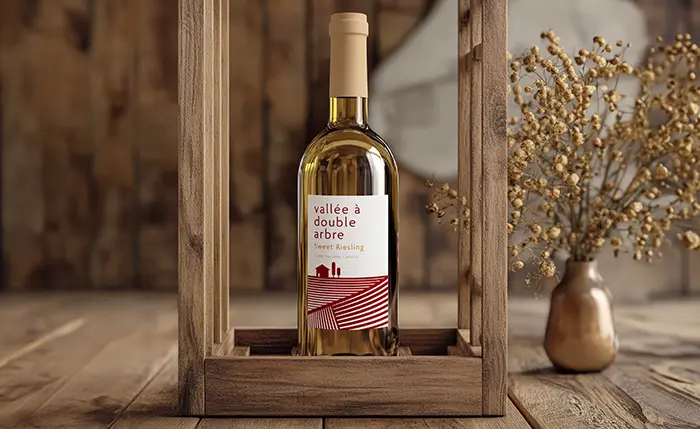
Metallic foils in warm tones reflect both store lighting and natural sunlight, creating subtle shifts in color as the bottle is moved or viewed from different angles. This dynamic quality helps your custom wine bottle labels stand out whether on a dimly lit wine bar shelf or under bright retail lighting.
- Test foil placement under actual store lighting before finalizing.
- Keep foil accents balanced to avoid distracting from key information.
- Match metallic tones to wine type, cooler silver or pewter for crisp whites, warmer copper or gold for bold reds.
Turn the Label into a Story
Your label can share a moment from your vineyard before the cork is even pulled, capturing the atmosphere of harvest with visuals, textures, or words that make the buyer feel as though they’re standing between the rows of vines.
By weaving in sensory cues, sight, touch, and even the suggestion of taste, you create a connection that begins long before the first pour.
- Include a QR code linking to a short harvest video or seasonal pairing idea.
- Add a printed handwritten note from the winemaker for authenticity.
- Hand-number limited editions to appeal to collectors and enhance personalized wine bottle labels.
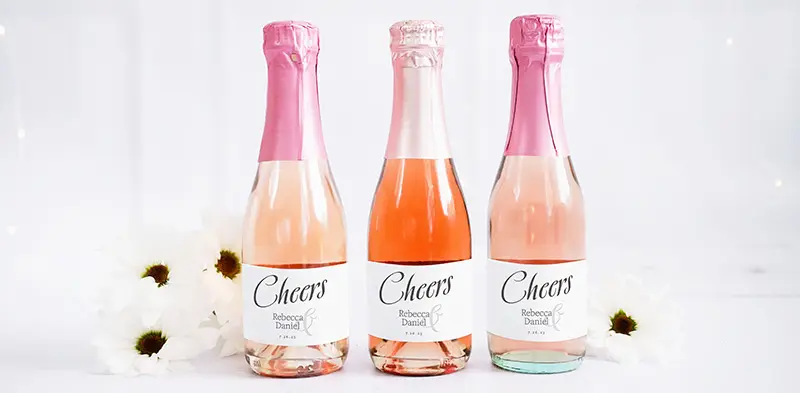
Give Minis a Bigger Role
Mini bottles can carry big design impact when used creatively, acting as small-format ambassadors for your brand. Their compact size demands smart, efficient design choices, where every inch of the label works hard to communicate style, quality, and personality.
- Use mini wine bottle labels for favors at fall weddings or in seasonal tasting flights.
- Keep typography bold and simple for quick readability.
- Align mini bottle designs with full-size labels for a cohesive set.
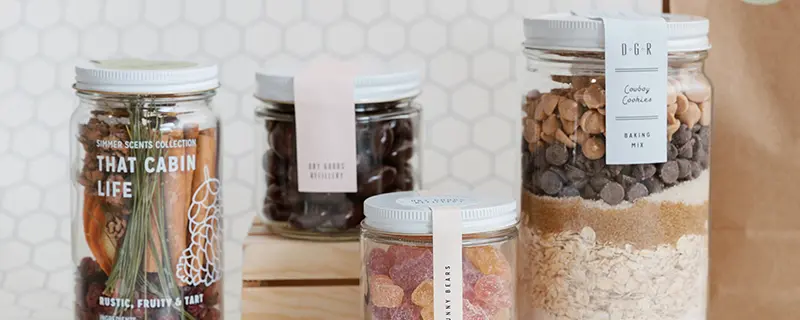
Use Touch as a Branding Tool
Labels should feel as good as they look, delivering a tactile experience that complements the visual design and reinforces your brand’s quality.
- Apply soft-touch laminate to make bottles more inviting to hold.
- Use raised embossing to create texture around logos or key design elements.
- Combine tactile finishes with strong visuals to leave a lasting impression.
Materials Tested in Real Winery Conditions
- BOPP with laminate for water resistance in ice buckets
- Textured paper for a rustic, artisanal feel (best for indoor events)
- Matte laminate for a soft, refined look without glare
Always test materials under real serving conditions, cold, wet, and handled frequently—to see how they perform.
Mistakes to Avoid in Fall Wine Labels
- Choosing untested materials that warp or curl in moisture.
- Overloading the design with too many seasonal elements.
- Forgetting to check compliance details before printing.
- Using fonts or colors that are hard to read in low light.

Label Compliance
Before you go to print, make sure your design meets legal requirements. U.S. regulations require certain details like brand name, class or type of wine, alcohol content, net contents, and health warnings to appear in specific ways.
Elements such as appellation of origin or vintage date also have rules around when they can be used. The Alcohol and Tobacco Tax and Trade Bureau (TTB) Wine Labeling Resources provide clear guidance on mandatory information, approved formats, and layout, helping you avoid costly reprints or compliance issues.
Keep Your Brand Ready for the Pour
If your fall wine lineup is coming together, now is the time to prepare your custom wine bottle labels. The right design and material choices mean your bottles will look their best from crush to cork, no matter where they’re poured.
Whether you’re creating custom label wine for a special reserve or seasonal release, planning ahead keeps your brand presentation consistent.
Recap:
- Finalize wine label designs at least 6–8 weeks before bottling
- Use foil, texture, and shape to stand out on shelves
- Test materials in real serving conditions
- Include storytelling elements like QR codes, batch numbers, or personalized wine bottle labels
- Check TTB compliance before printing
- Plan mini wine bottle labels alongside full-size designs for consistency