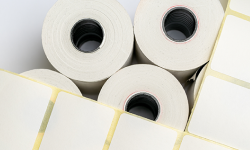


The best way to label homemade pickles and fermented foods is with custom canning labels designed to withstand moisture, handling, and temperature swings.
Whether you're stocking up for a summer market or gifting jars to friends, a smart labeling setup keeps your goods looking polished and professional.
What Makes a Great Canning Label?
Pickled foods and fermented goods need more than just a pretty design. Their labels have to handle moisture, oil, refrigeration, and repeated handling, without peeling or smudging.
Here’s what to look for:
- Water-resistant materials to hold up to condensation and brine
- Strong adhesives that stick well to curved surfaces like mason jars
- Smudge-proof finishes to protect handwritten or printed text
- Custom sizing to fit lids, sides, or bottoms of any jar type
Food-safe labeling is more than a finishing touch, it's a critical part of ensuring your jars stay intact and information stays legible. Materials should be selected based on how your products are stored, handled, and sold.
Labels that can endure condensation, fluctuating temperatures, and repeated handling are essential for maintaining both product appeal and safety.

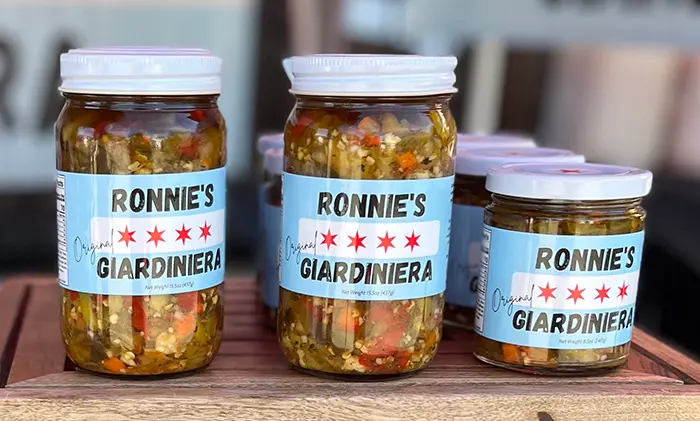
Label Placement: Where It Matters
There’s no one-size-fits-all for labels for mason jars, which means where you place them is just as important as how they’re made.
Here are your go-to spots:
- Side of the jar: Ideal for branding, ingredients, and product name
- Top of the lid: Great for small logo seals, dates, or batch numbers
- Bottom of the jar: Discreet place for internal tracking info or barcodes
Make sure your info is easy to read at a glance. At farmers markets, customers often make fast decisions, clear, attractive pickle jar labels help make that choice easier.
Tips for Summer-Proof Pickle Jar Labels
Heat, sunlight, and cooler bags can all wreak havoc on labels. To stay sharp through the summer rush, keep these tips in mind:
- Use laminate or film labels instead of paper
- Avoid inkjet printing unless using waterproof ink
- Let jars cool completely before applying labels (especially after water baths)
- Store labeled jars upright to avoid corner peeling or moisture seepage
For longer shelf life and fewer surprises on market day, go with labels designed for performance - not just looks.
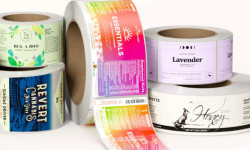
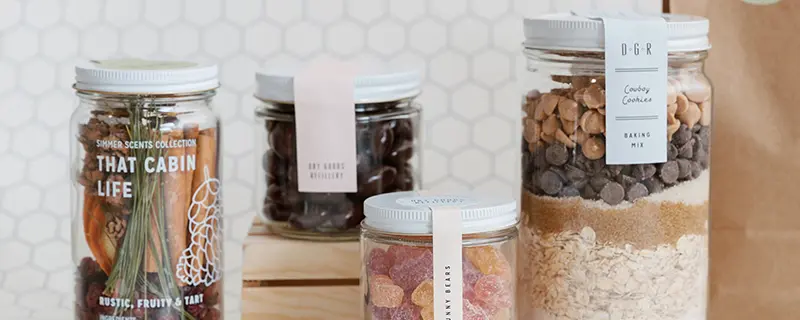
Small Batch, Big Impression
Custom labels are especially powerful for small-batch producers. A sharp design communicates care, consistency, and value, key factors for farmers market shoppers.
What to include on your canning jar labels:
- Brand name or logo
- Product name and flavor (e.g., Garlic Dill Pickles, Spicy Kimchi)
- Ingredients and date
- Batch number or variety (especially helpful for rotating flavors)
- Website or contact info (QR codes work great here)
Add personal touches like handwritten flavor notes, seasonal artwork, or limited-edition indicators to create urgency.
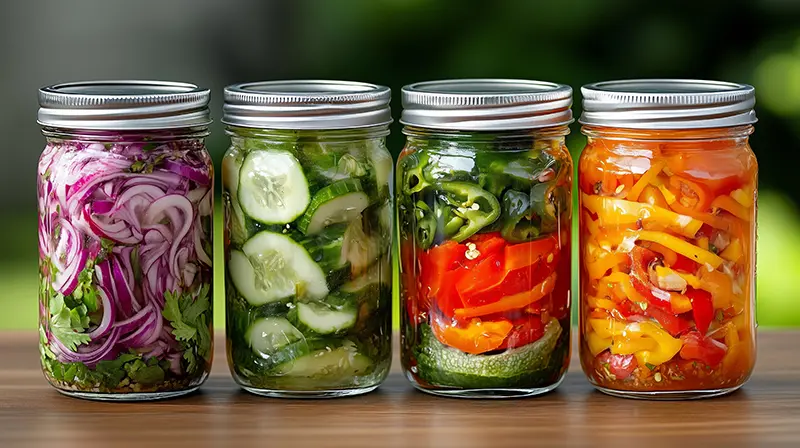
Labeling Ferments? Here's What to Know
Fermented foods often continue releasing gas during storage, which can cause lid swelling or leakage if not fully stabilized. For safety and handling best practices, the University of Georgia’s Home Fermentation Guide includes recommendations on proper storage and labeling. That means your labels for canning need:
- Strong adhesive to stay put—even with small leaks
- Flexible sizing to accommodate slightly bulging lids
- Clear labeling for expiration or “ready by” dates
Many fermenters opt for wraparound labels paired with lid dots or tamper seals for extra detail. Just make sure the label material is up for the job.
Labeling Ideas That Work
Across farmers markets and small-batch kitchens, homemade pickle and ferment producers are finding creative ways to use labeling as both function and storytelling:
- Some vendors apply waterproof matte labels with clean typography, making it easy for customers to read flavor profiles and batch dates from a distance.
- Others use wraparound designs that include ingredient lists, QR codes linking to recipes, or brief origin stories.
- Minimalist labels are popular with fermenters who want the contents of the jar to stay fully visible, while still providing key product info like date, batch, and handling instructions.
- A few add small lid dots or tamper seals for both practicality and a subtle touch of branding.
These thoughtful details add personality and polish—without overcomplicating the process.
Quick Labeling Checklist: How to Label Homemade Pickles and Fermented Foods
Before your next batch hits the table or the market stand, run through these core steps:
- Choose a label material that resists moisture, handling, and temperature swings
- Pick the right size and shape for your jar and lid
- Decide what information to include: product name, ingredients, date, batch, branding
- Place your label on a clean, dry surface at room temperature
- Let labels set fully before refrigerating or stacking
- Use optional extras like QR codes, tamper seals, or lid dots to add value
These basics will help your jars look good, stay legible, and tell the story of your product.
Make Every Jar Market-Ready
Whether you're at a market stall or packing jars for delivery, thoughtful labeling goes a long way. It shows care, helps shoppers make quick decisions, and keeps your product looking sharp, even in warm weather or cold storage.
If your current setup isn’t cutting it, revisit the basics: materials, placement, and design. The right combination makes a noticeable difference. Durable canning labels that hold up through moisture, movement, and seasonal shifts can help your jars stay intact and your branding stay visible.