

Personalized water bottle labels are a simple way to bring your wedding theme into the small details. With a minimum order of 100 labels, you can add names, dates, or designs that tie everything together for the ceremony, reception, or guest bags.
Steps to Create Wedding Water Bottle Labels
1. Measure Your Bottle
Bottles aren’t all the same. Take a quick measurement of the flat space where the label will sit. Wrap a strip of paper around to see how it fits. This trick saves you from labels that end up too short or wrap too far.
2. Pick a Material That Lasts
Most bottles end up in coolers or ice, so a water‑resistant material like BOPP works best to prevent smears or peeling. For couples looking for greener choices, recycled paper options can add a natural look. The EPA’s recycling basics has helpful information on sustainable packaging ideas.

3. Match Your Wedding Style
Labels are part of the design, so think about how you’ll create them. Many couples use simple design tools like Canva to build layouts with names, dates, and decorative art. Templates make it easy to size correctly and keep fonts consistent.
Here are some design ideas based on common wedding themes:
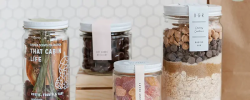
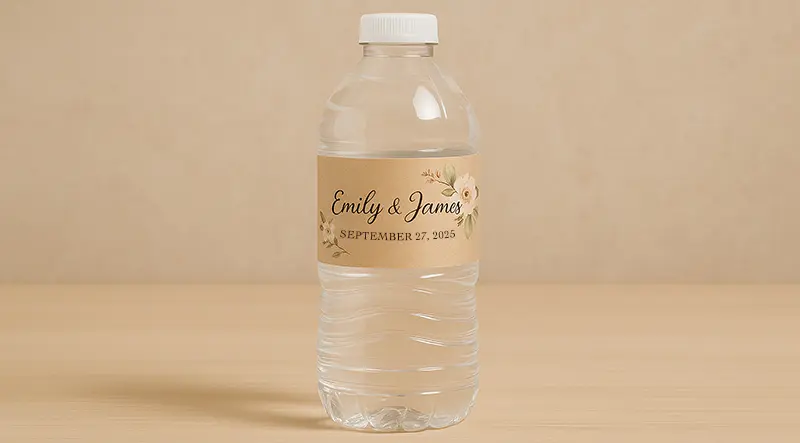
- Rustic weddings: kraft-look backgrounds, soft earth tones, or hand-drawn florals.
- Formal receptions: minimalist layouts, metallic accents, serif fonts.
- Seasonal celebrations: autumn leaves, pumpkins, or jewel tones for fall; snowflakes or greenery for winter.
- Beach weddings: seashell icons, soft blues, and sandy beige tones.
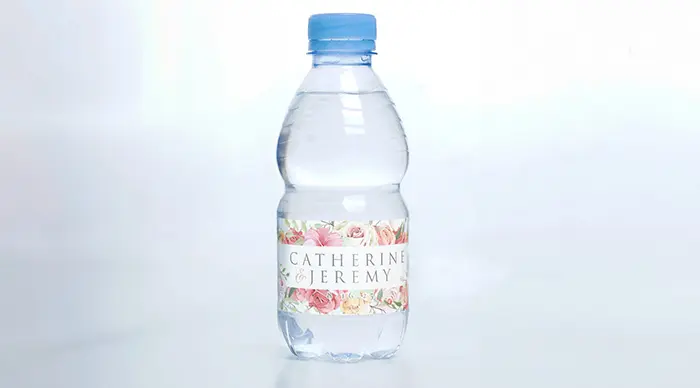
- Garden parties: watercolor flowers, pastel colors, and script fonts.
4. Add Personal Touches
Many couples add initials, a date, or a short phrase. Keep it simple so text is easy to read, especially on mini bottles. A good rule of thumb: clear fonts, strong color contrast, and no overcrowding.
5. Review Your Proof
Before printing, you’ll see a digital proof. Look closely at colors, spacing, and alignment. Catching small issues here avoids stress later.
Tips for Applying Labels Neatly
- Make sure bottles are clean and dry.
- Start at the seam, then press from the center out to avoid bubbles.
- Apply a few slowly first. Once you get the rhythm, the rest go faster.
Pro Tips from Wedding Planners
- Keep labeled bottles at room temperature until setup to avoid early condensation.
- On mini bottles, less design is more. Names and dates are plenty.
- Place bottles at hydration stations, on ceremony chairs, or in welcome bags so guests always notice them.
Why Guests Appreciate Them
Custom labels do more than decorate. They help keep bottles organized, cut down on mix-ups, and give guests something practical to use. Most couples end up glad they ordered extras because bottles go quickly once the day gets going.
For more on hydration during events, the CDC offers guidance that shows why keeping guests supplied with water is important.
Bring Personality Into the Details
Designing personalized water bottle labels is a quick way to carry your theme through every detail. With durable materials and a low minimum order, you can personalize bottles without overspending.
Quick Recap
- Measure bottles and test fit with paper.
- Choose water-resistant labels like BOPP.
- Match labels to your theme and colors.
- Add names, dates, or short notes.
- Apply on dry bottles using the seam as a guide.
- Order early, especially in busy seasons.
- Minis work well for cocktail hour, kids’ tables, or favors.