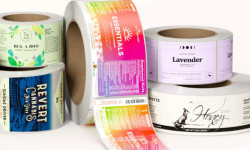


Ordering custom labels online is simpler than you might think. At Wizard Labels, we’ve streamlined the process so you can quickly go from an idea to a polished product without any guesswork. Whether it’s your first time or you’re looking for a better solution, we make it easy to create high-quality labels that fit your needs.
1. Start with “Order Now” or “Get a Quote”
Every label journey begins with one small step—or in this case, one small click. Head to our website and select Order Now or Get a Quote. Both options guide you through material choices, sizes, and pricing quicker than you can say, “Why didn’t I do this sooner?”
2. Choose Your Label Shape
The shape of your label sets the tone for your design. It’s like choosing the right cloak for your brand—you need the one that fits just right. At Wizard Labels, we offer:
- Stock Shapes:
- Custom Shapes: Have something unique in mind? Select our custom shape option to create a label as distinctive as your product.
Quick Tip: Square and circle labels need equal width and height. For rectangles or ovals, feel free to mix up the dimensions to match your packaging.
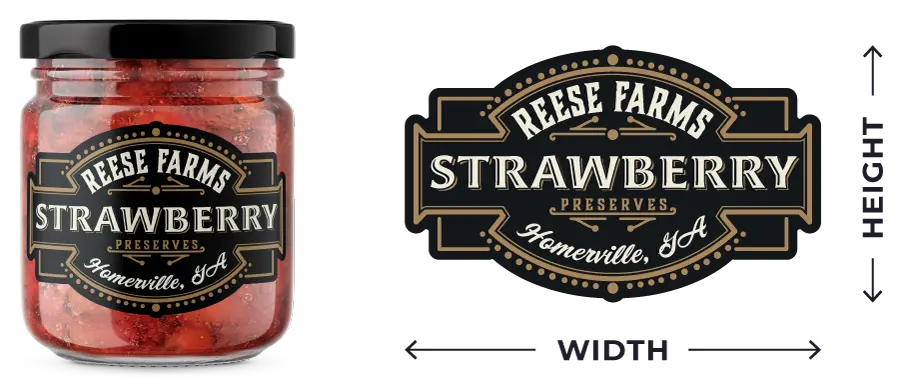
3. Find the Perfect Label Size
Getting the right size is about balance—it’s neither too small to miss nor so big it hogs the spotlight. Here’s an easy way to find your Goldilocks moment:
- Cut a piece of paper to the approximate dimensions.
- Place it on your product to see how it fits.
- Adjust and measure until it looks just right.
This simple trick saves time and ensures your labels fit like they were made for the job (because they are). Use our Custom Label Size Guide that includes free, downloadable templates to help you determine the best size and shape label for your product.
Customize the Corners (for Square or Rectangular Labels)
Corners might not seem like a big deal, but they add personality to your labels. Think of them as the finishing touch to a finely tuned design.
- 1/8" Radius: Rounded corners with just the right amount of curve for a modern look.
- 1/16" Radius: Subtly softer for those who like understated elegance.
- 1/64" Radius: Crisp, sharp corners for a clean, precise finish.
It’s a small detail, but hey, the details matter.

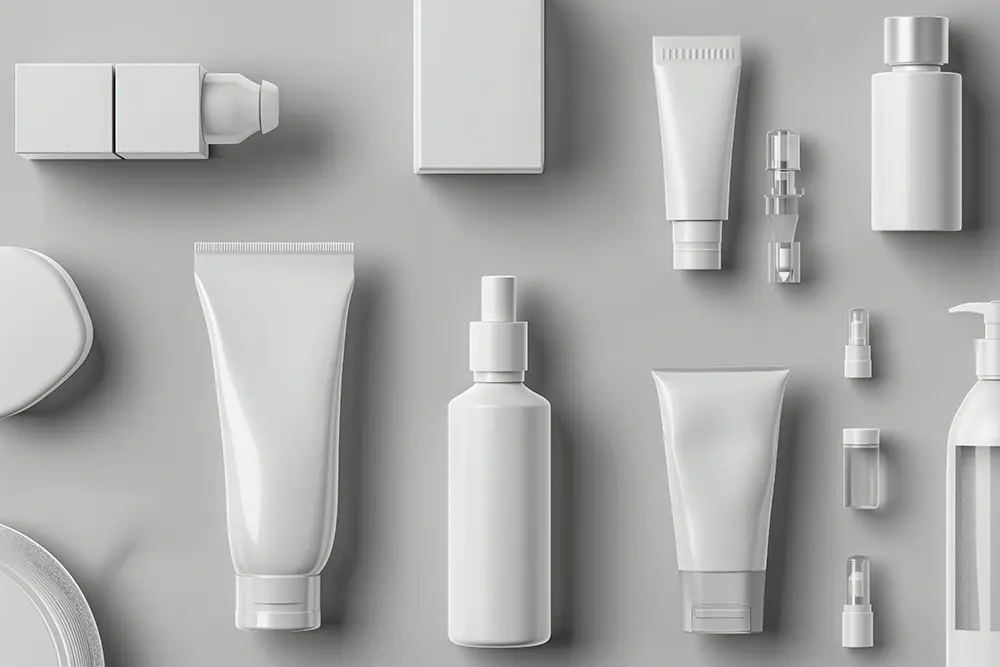
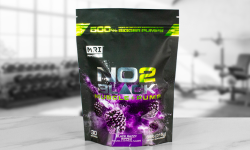
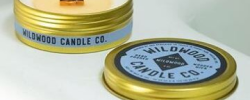
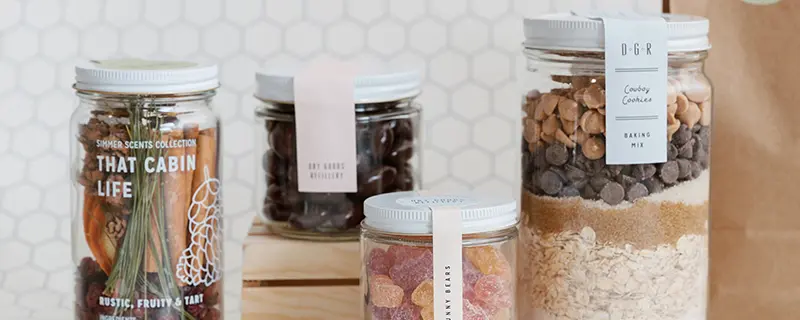
4. Select Your Label Material
Choosing the right material is all about function and style. Think of it as the foundation of a great design—it has to look good and work even better.
- White BOPP: The reliable go-to—durable, waterproof, and versatile enough for just about any use.
- Textured Papers: Perfect for a vintage or artisanal vibe. They’re like the handwritten note in a world of emails.
- Eco-Friendly Options: Great for brands that want to show they care about the planet as much as their products.
And don’t forget adhesives! The right adhesive ensures your labels stick around for the long haul, whether it’s on glass, plastic, or metal.
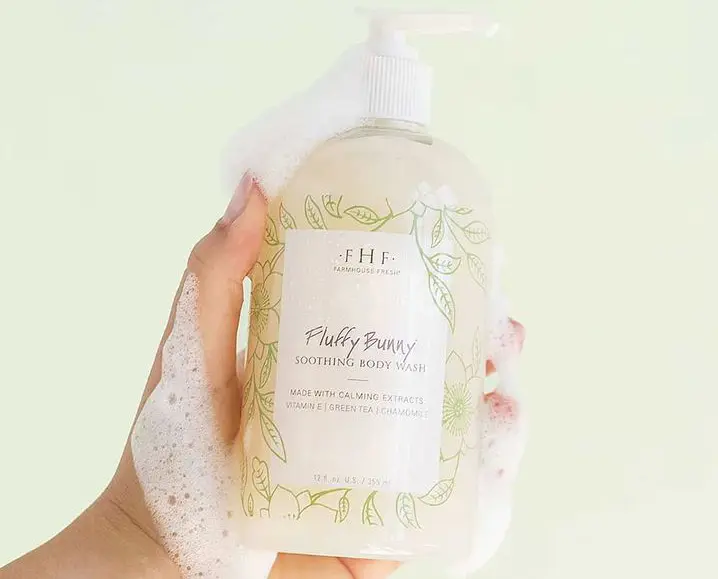
5. Choose a Finish
A finish is like the icing on the cake—it makes everything look polished and complete.
- Gloss: Bright and shiny, perfect for catching attention.
- Matte: Understated and chic for brands that like to keep it classy.
- Soft-Touch Matte: A velvety feel that practically begs to be touched (in a good way).
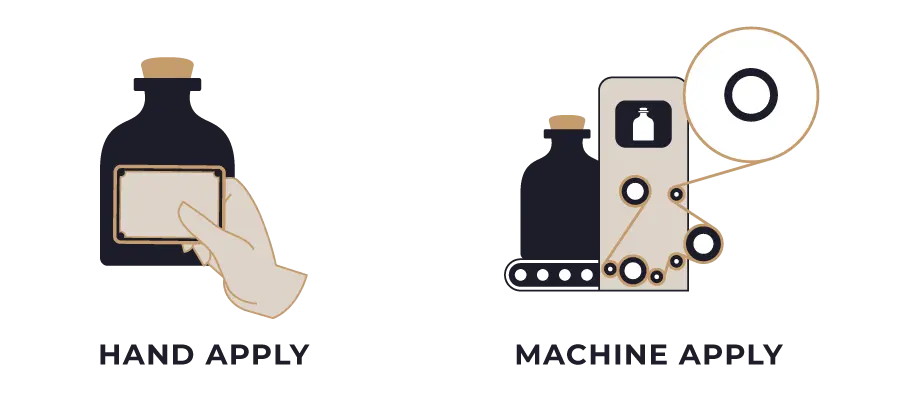
6. Label Application Method
Applying your labels can be just as important as designing them. Choose what works best for your workflow:
- Manual Application: Great for small batches or handcrafted products.
- Label Applicators: Perfect for larger runs—just be sure to check your unwind direction to keep everything running smoothly.
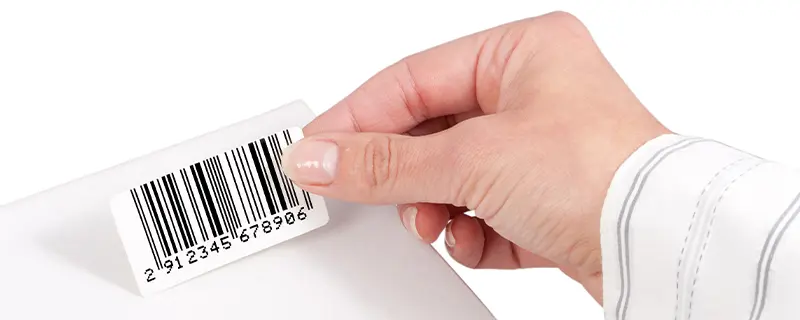
7. Select the Label Unwind Direction
Unwind direction sounds complicated, but it’s just a fancy way of saying how your labels are oriented on the roll. The most common choice is Right Off First (Position #3)—if you’re unsure, check your applicator specs to be safe. Learn more about unwind directions here.
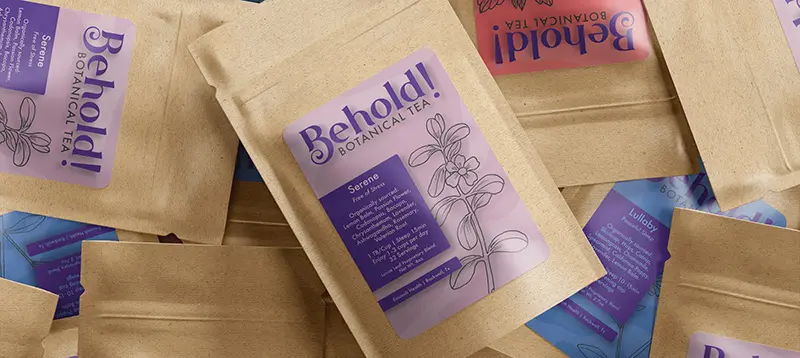
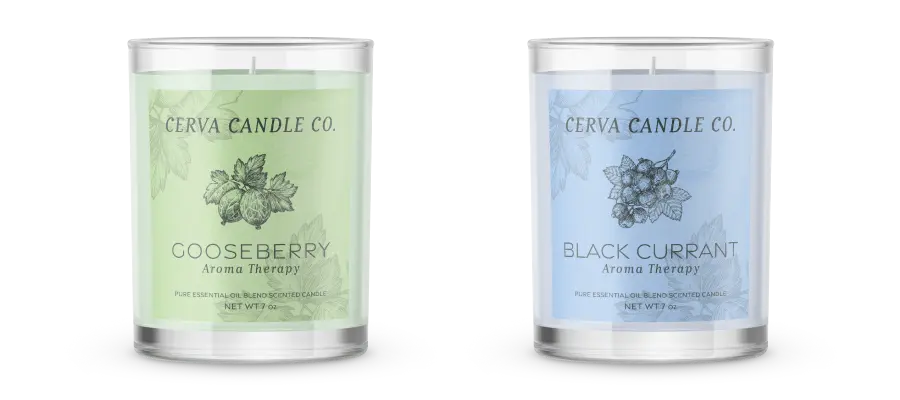
8. Specify Versions and Quantities
If you have multiple designs but the same label size, versions are your secret weapon for saving money and keeping things consistent.
For example:
- Have two scents for a candle line—lavender and citrus? Order 300 total labels with 2 versions.
This way, you get the same quality while minimizing costs.
9. Upload Your Label Artwork
Your design is the hero of the story, and uploading it is as easy as it gets. You can add it during checkout or later through your My Labels Account.
Accepted file formats: PDF, AI, and EPS. Not ready yet? No worries. You can finalize and upload it whenever inspiration strikes by choosing the Upload Artwork Later option.
10. Review Pricing and Complete Your Order
Finally, the moment of truth. Review your details and check the pricing summary. Adjust quantities to see how ordering more can save you money per label.
When you’re ready:
- Log in or Create an Account: Manage orders, save payment methods, and track shipping in one spot.
- Place Your Order: Double-check everything and hit submit. You’re done!
Final Thoughts
Ordering custom labels online doesn’t have to feel like an unsolvable riddle. With Wizard Labels, it’s all about simplicity, ease, and making sure your labels are exactly what you need. Ready to bring your vision to life? Click Order Now and let’s get started.